
Setting up Agentwork
For the sake of simplicity (mostly mine), I’m going to write this as if you’re using a MacBook. If you’re on Windows, you probably already think you’re smarter than I am1, so I trust you can translate these steps.
Strap in, because we’re about to get technical fast. I’m assuming you already have a GitHub account and a notes app you like.
Overview
We’re going to create a project in your notes app and a corresponding repository on GitHub, then clone that repository to your local machine. Your notes will hold all the project details, code snippets, and artifacts we generate. The repository will be the focal point for our work with command-line AI tools.
We are laying the foundation to do some seriously interesting work.
1. Start a Project in Your Notes
First, you need a place to keep critical details for this setup. Create a new project note. The path in my system looks something like this:
1 Projects/project - agentwork/Agent Project.md
I use a simple template for project files:
# Agent Project
## Overview

## Content

## Branches

## Connections
- [[2025-10-19]]
If you aren’t using a Markdown-based system, I trust you to adapt. It’s not that hard.
Obsidian Hack: I use Obsidian’s Daily Note feature, so every day a new note titled
YYYY-MM-DDis created automatically. I always link a new document to the Daily Note from the day I created it. Thanks to back-linking, finding documents by their creation date is surprisingly effective.
Think of your project file as the engine of a “thought train.” You’ll create the engine (the main project file) and then link boxcars loaded with ideas, URLs, keys, code snippets, and other odds and ends. That’s what a project file is: a master document linking to other useful, specific information.
Once you’ve created this file, open it in your notes app and keep it handy. You’ll be using it a lot.
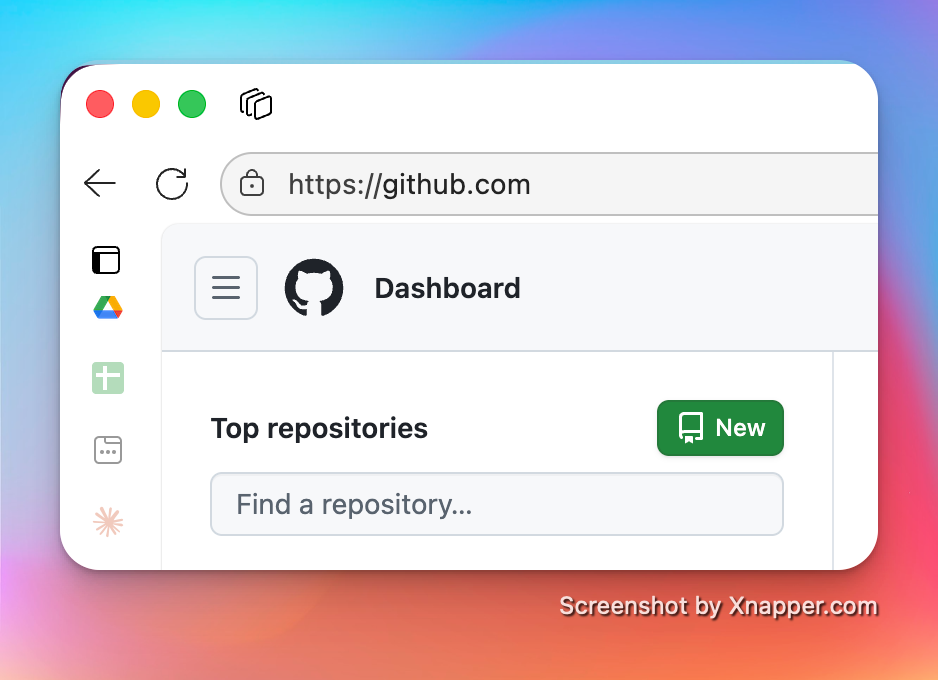
2. Create the Repository on GitHub
Log in to your GitHub account on the web. You’ll need to do this from a desktop computer, as creating a new repository from the mobile app is a pain.
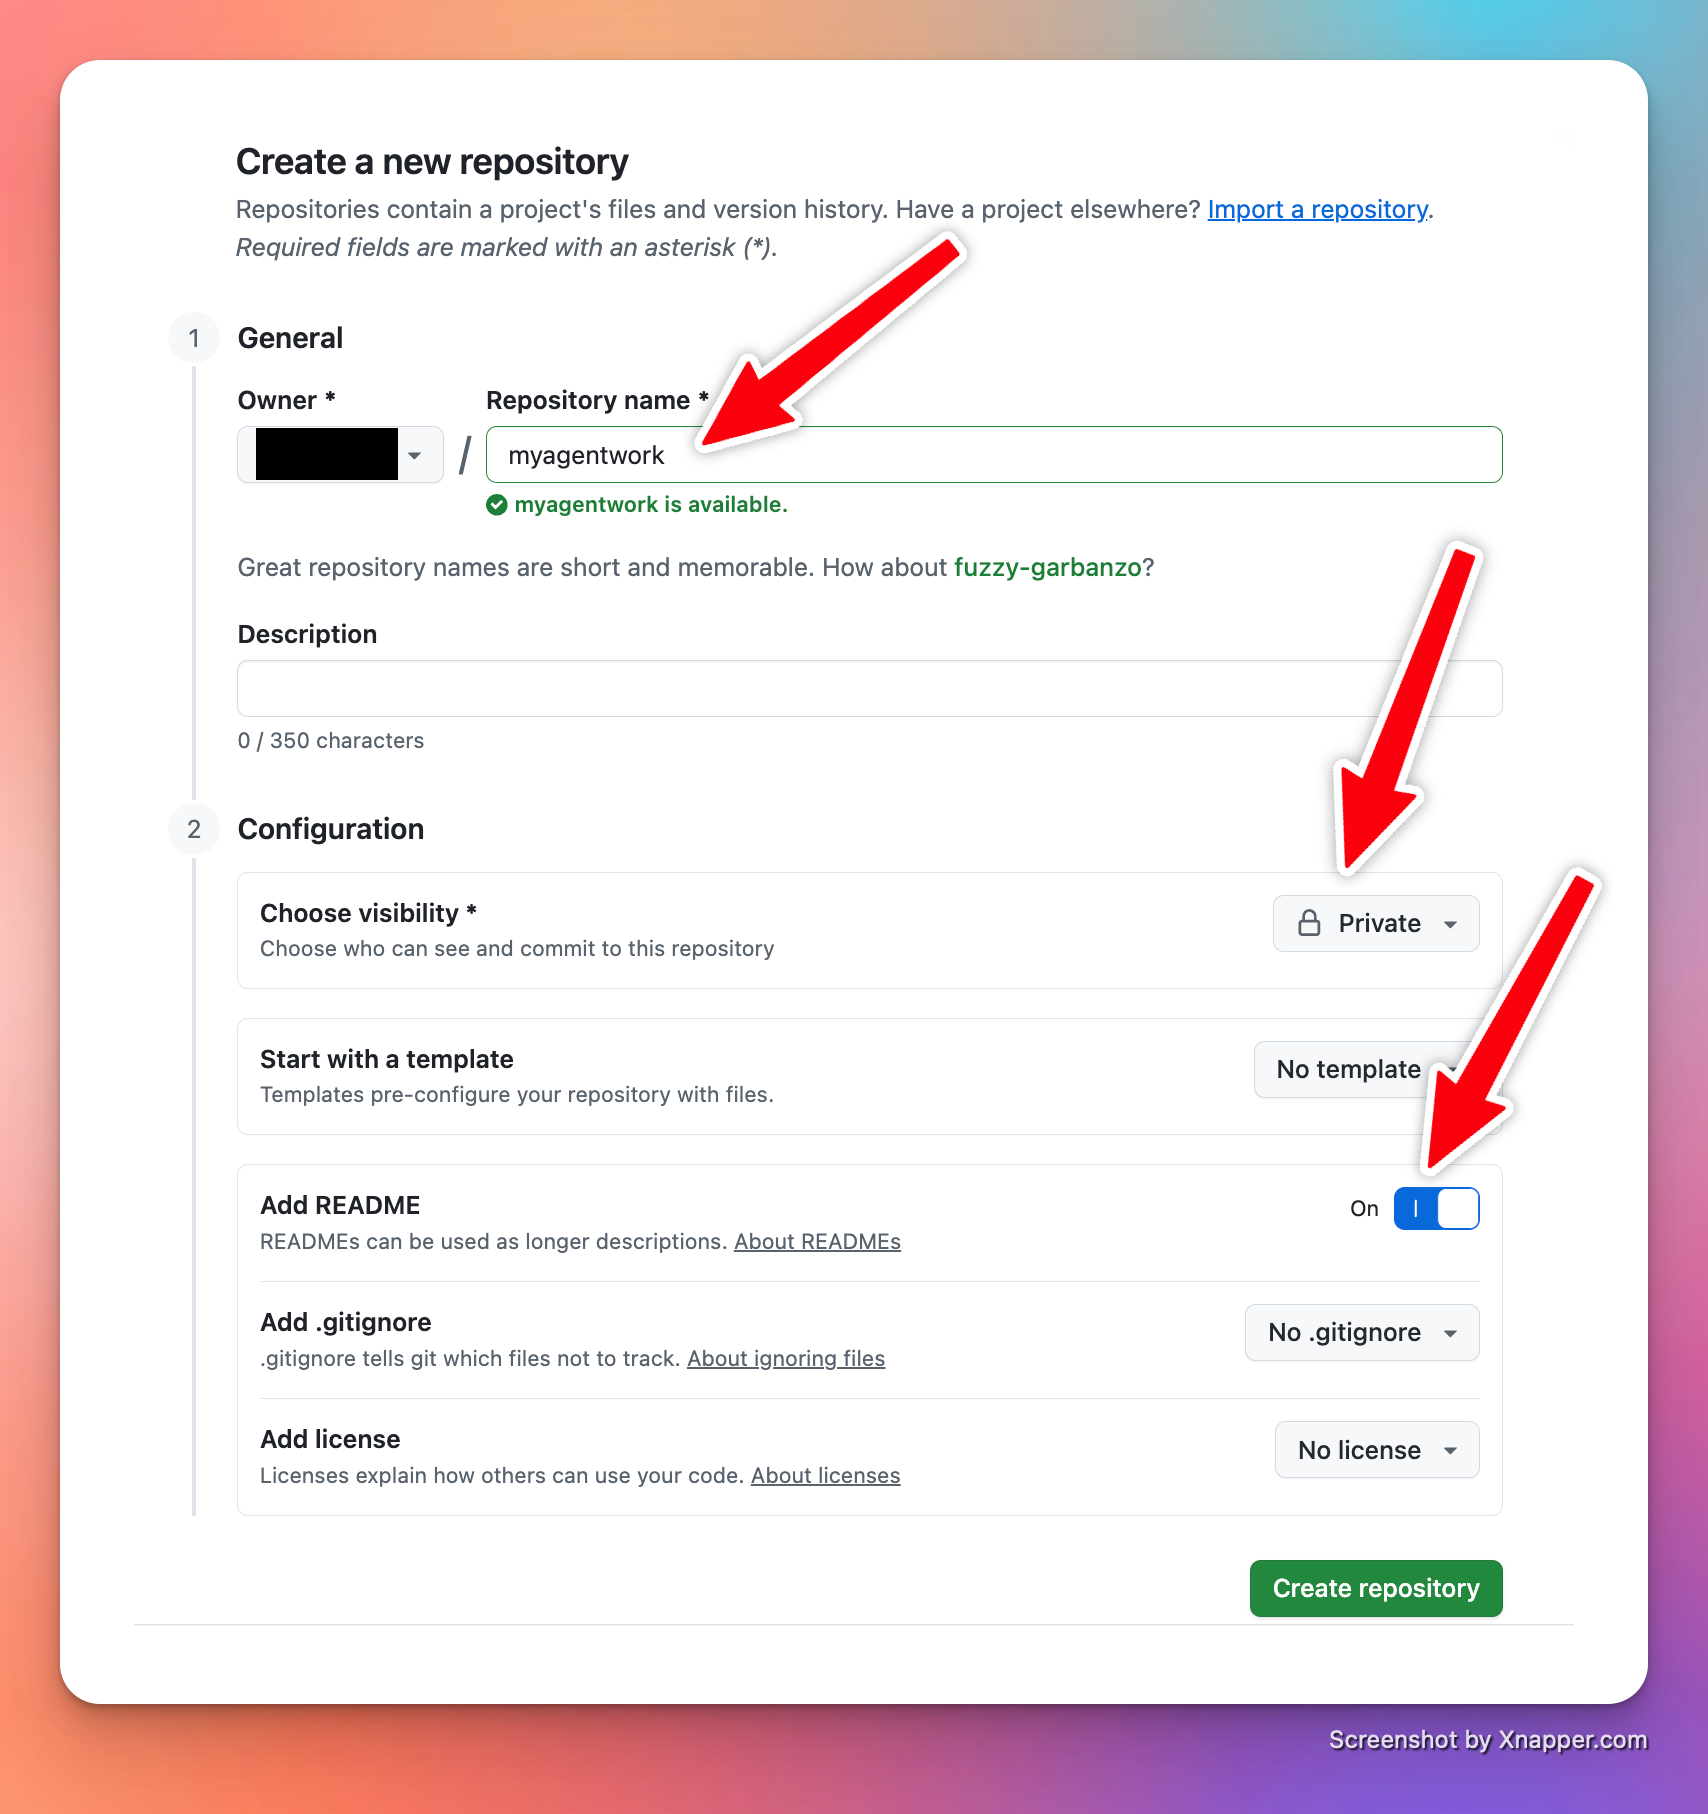
- Click the “New” button to create a new repository.
- Name it
agentwork. - Check the box to Add a README file.
- I recommend you make the repository Private.
When you’re done, you should have a new repository on GitHub containing a single README.md file. Now you can clone it to your local machine.
Making the new repository
Repository Creation Form
3. A Word About Git
Over the years, I’ve used many version control systems. A VCS allows a developer (that’s you now) to save incremental changes and, more importantly, to roll back their work to a previous version if something breaks. You really, really want to learn how to use git.
Why?
When I was a young programmer in England, I worked on an app that viewed raster images (scanned documents, basically). One day, I decided to impress the senior engineers by making a “simple” change to remove all the global variables—because my professors told me they were always bad.
Imagine trying to remove every instance of the passive voice from a novel in one go. What could go wrong?
After a few days, I discovered that for technical reasons2, I couldn’t actually do what I wanted. So, I tried to undo my work… and found out I couldn’t. I had forgotten everything I’d changed, and my backup system was flawed. I only had space for one daily backup, which I overwrote each morning. I couldn’t even get back to where I started.
A senior engineer later taught me how to use version control. It felt like magic.
GitHub is the standard for a reason. Its superpower is allowing teams to work together, but it’s just as powerful for a solo developer. You might think, “I’m the only one working on this.” Ah, but you won’t be. You’ll have multiple AI agents acting like your development partners. You also might work across multiple machines and want a reliable way to keep everything in sync.
Welcome to Git.
Cloning Your Repository
Now that your repository exists on GitHub.com, you need to clone it (make a local copy). I suggest getting comfortable with the Terminal app.
To clone your agentwork repository into your home folder, run this command:
git clone https://github.com/username/agentwork.git ~/agentwork
Breakdown:
git clone: The command to copy a repository.https://github.com/username/agentwork.git: The URL for your repository. Be sure to replaceusernamewith your actual GitHub username.~/agentwork: Tells Git to create a folder namedagentworkin your home directory.
If your repository is private, you may need to authenticate. If you run into trouble, don’t panic. This is your first learning opportunity.
4. Your First Commit
Now it’s time to make a change, save it, and upload it to the cloud.
-
Open the
~/agentworkfolder in a code editor like VS Code. -
Select the
README.mdfile and add some text:Agentwork Project
This is my initial Agent Work Project. Last updated: 2025-10-19
-
Save the file.
-
Go back to your terminal window (make sure you are in the
~/agentworkdirectory) and type the following commands:git add README.md git commit -m “Initial commit of project README” git push
Here’s what that does:
git add README.md: This “stages” the file, telling Git you want to include this file’s changes in the next save point.git commit -m "...": This creates the save point (a commit) with a message describing what you changed.git push: This uploads your committed changes from your local machine to the “origin” repository on GitHub.
I recommend copying these commands and your repository’s URL into your project note file. You’ll thank yourself later.
You Can Also Ask AI To Teach You
Following this article is just one way to learn. You can also ask ChatGPT, Gemini, or Claude to teach you. Give it a link to this article and ask it to coach you, step by step.
If you find this process intimidating or frustrating, that’s a good thing. It means you’re learning. Pay attention to that feeling—it’s a sign of progress and that your capacity for knowledge is increasing.
Remember: The more you know, the more you are capable of knowing.
Recap
You have now:
- Created a project note to track your work.
- Created a repository on GitHub.
- Cloned that repository to your local machine.
- Made your first commit and pushed it to the cloud.
You’re ready for the next step.